The secret to a successful budget Mustang restoration is prioritizing structural integrity over cosmetic perfection.
- Coupes offer a significantly cheaper entry point and lower parts costs compared to the more desirable fastback models.
- Embracing a “survivor aesthetic” with original patina can save over $10,000 on paint, money better spent on mechanical reliability.
Recommendation: A successful project starts before you buy the car; budget for a professional inspection and always set aside a 10-20% contingency fund specifically for hidden rust repair.
The rumble of a 289 V8, the iconic lines, the feeling of owning a piece of Americana—the allure of a first-generation Ford Mustang is undeniable. For many hobbyists, bringing one of these legends back to life is the ultimate project. Yet, reality TV and online forums are filled with cautionary tales of ballooning budgets, half-finished projects gathering dust, and dreams turning into financial nightmares. The common advice to “buy the best you can afford” or simply “check for rust” is true, but it barely scratches the surface of what it takes to succeed.
The conventional wisdom often pushes beginners toward a path of perfection that is both unrealistic and financially ruinous. It creates a paralyzing fear of any imperfection, leading many to overpay for cosmetically clean cars that hide deeper, more expensive structural problems. This approach overlooks the most critical aspect of a successful budget restoration: knowing where to compromise and where to invest.
But what if the key to an affordable and enjoyable restoration wasn’t finding a flawless, mythical “barn find,” but rather making a series of smart, strategic trade-offs from the very beginning? What if embracing certain imperfections was actually the secret to building a reliable, head-turning classic you can actually drive and enjoy without breaking the bank? This isn’t about cutting corners; it’s about spending money where it truly counts.
This guide provides a strategic framework for your first 1965-1968 Mustang project. We will navigate the critical decisions that define a project’s budget and outcome, from identifying the real “deal-breaker” issues and choosing the right body style, to planning for modern reliability and optimizing your bodywork budget. It’s time to build your dream, not a money pit.
To help you navigate this journey, this article breaks down the essential strategic decisions you’ll need to make. The following table of contents outlines the key areas where smart choices will save you time, money, and frustration, ensuring your classic Mustang project is a rewarding success.
Summary: A Strategic Guide to Your First Classic Mustang Restoration
- Identify hidden structural rust
- Comparing coupe and fastback models
- The mistake of underestimating parts costs
- Optimizing reliability for modern driving
- Planning the restoration stages
- Optimizing the bodywork budget
- Adapting historical design to aerodynamic constraints
- Choosing the right modern American performance car for daily driving
Identify hidden structural rust
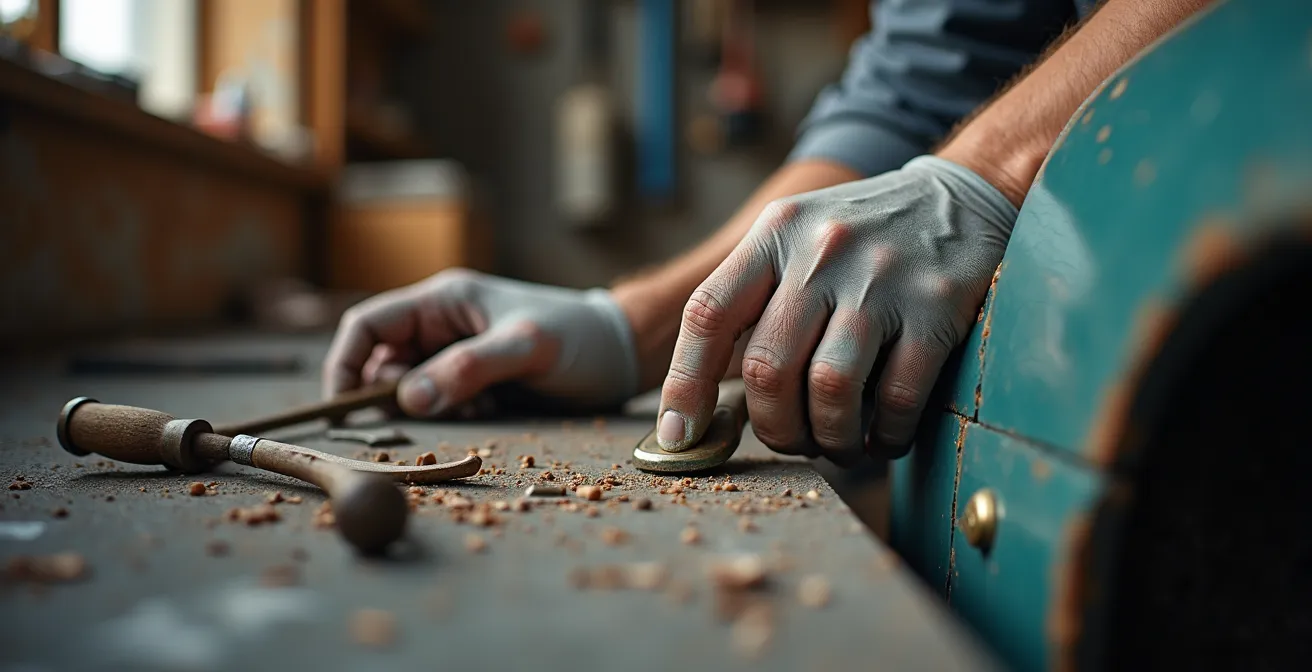
For a first-generation Mustang, rust is the single most destructive force, both to the car and to your budget. While surface bubbles on a fender are obvious, the truly expensive corrosion lurks where you can’t easily see it. The critical mistake isn’t buying a car with some rust; it’s failing to distinguish between manageable cosmetic rust and catastrophic structural decay. Areas like the frame rails, torque boxes (which connect the front frame to the main body), floor pans, and the cowl (the area below the windshield) are the car’s skeleton. Repairing these requires specialized skills, equipment, and can easily add thousands of dollars to a project, far exceeding the cost of mechanical repairs.
Shiny paint can be a deceptive mask, often hiding inches of body filler (“bondo”) over rotted-out metal. A pre-purchase inspection is not an option—it’s a necessity. This isn’t just a quick look-under; it’s a forensic investigation. The financial impact of missing this step is enormous. Restoration experts advise that unexpected restoration costs typically require a 10-20% contingency budget, with hidden rust being the primary culprit. Your first strategic decision is to invest in a solid, rust-minimal foundation, even if it means sacrificing a perfect paint job or a numbers-matching engine.
Your pre-purchase rust inspection plan
- Budget for a professional inspection: Allocate $300-$500 for a specialist to put the car on a lift. This is the best money you will ever spend.
- Probe critical areas: Request moisture meter readings and a borescope (small camera) inspection of internal frame rails and rocker panels.
- Trust your nose and ears: Check for musty odors from carpets indicating damp floor pans. Use a small ball-peen hammer to gently tap along lower body panels; a dull thud instead of a metallic ring signals hidden body filler.
- Assess financial viability: If the estimated cost of rust repair exceeds 40% of the car’s projected restored value, it’s likely a poor investment for a budget project.
- Document and photograph: Take detailed pictures of all problem areas, including inside wheel wells, trunk drop-offs, and under the battery tray.
Ultimately, a car with a faded but solid body is a far better starting point than a freshly painted car with a rotten core. This first step of identifying the true state of the car’s structure will dictate the entire trajectory of your project.
Comparing coupe and fastback models
One of the most significant strategic trade-offs you’ll face is the choice between a coupe and a fastback. While the fastback’s sleek profile (popularized by the movie *Bullitt*) is undeniably alluring, that desirability comes at a steep premium that extends far beyond the initial purchase price. For a hobbyist on a budget, the hardtop coupe represents a much more accessible and financially sound entry into the world of classic Mustangs. The initial purchase price for a comparable-condition coupe is often 30-40% less than a fastback, a saving that can fund your entire drivetrain or bodywork budget.
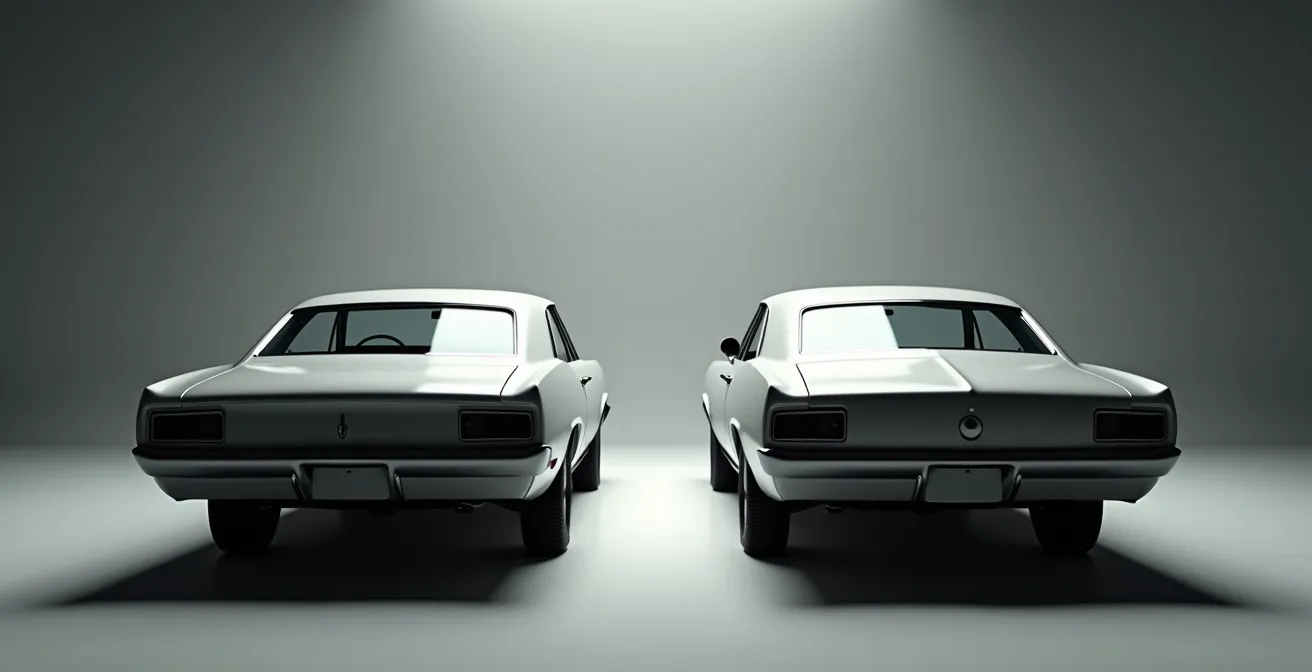
This cost difference is amplified when it comes to restoration parts. The large, curved rear glass of a fastback is a signature design element, but it is also fragile and expensive to replace. Many of the interior trim panels, fold-down seat components, and exterior trim pieces are unique to the fastback and are consequently rarer and more costly. In contrast, the coupe was produced in far greater numbers, leading to a vast and competitive aftermarket for parts, which drives down costs and improves availability. Furthermore, the coupe’s more rigid body structure, with its solid C-pillars, tends to have fewer issues with body flex over time compared to the more open design of the fastback.
This table illustrates how the “fastback tax” accumulates across a restoration project. A recent comparative analysis of build costs highlights these disparities.
| Cost Factor | Coupe | Fastback | Savings |
|---|---|---|---|
| Initial Purchase | 30-40% less | Premium pricing | $8,000-15,000 |
| Rear Glass | Standard flat glass | Large curved glass | $2,000-4,000 |
| Unique Trim Parts | Common availability | Rare/expensive | $1,500-3,000 |
| Structural Rigidity | Better long-term | More flex issues | Future maintenance |
| Parts Availability | Extensive aftermarket | Limited sources | 25% markup difference |
Choosing a coupe isn’t settling; it’s a strategic move. It allows you to acquire a solid project car and allocate your funds toward building a mechanically sound and reliable driver, rather than sinking your budget into a desirable body style that will demand more money at every stage of the restoration.
The mistake of underestimating parts costs
The second-biggest budget killer, right after hidden rust, is a profound underestimation of the total cost of parts. A common rookie mistake is to focus on the purchase price of the car and a rough estimate for paint, while completely misjudging the thousands of dollars needed for everything in between. Every nut, bolt, clip, wire, and piece of rubber adds up with staggering speed. From the fuel tank to the window seals, from the brake lines to the headlight buckets, a full restoration requires a mountain of components. A key factor many forget is that restoration shops typically charge a 25% markup on parts they source, on top of what can be a $10,000 minimum parts investment for a comprehensive build.
Even if you are doing the labor yourself, the cost of parts can be deceptive. A small, inexpensive part’s failure can have a cascading effect, destroying more expensive components. A cheap fuel pump can cause a lean condition that melts a piston; a faulty voltage regulator can fry your new electronic ignition. This is why professional restorers have developed a critical rule of thumb for realistic budgeting.
Case Study: The 150% Rule for Realistic Parts Budgeting
An analysis of multiple restoration projects reveals a consistent pattern: initial parts estimates are almost always wrong. To combat this, experienced builders use the “150% Rule.” First, create a detailed spreadsheet of every single part you think you’ll need and its estimated cost. Then, multiply that total by 1.5. This 50% buffer isn’t fat; it’s a realistic contingency for the “Three Unforeseens”: 1) Hidden Damage (discovering a cracked bracket behind the part you’re replacing), 2) Shipping & Handling (which can add 20-30% to the total cost), and 3) Collateral Damage (the “while you’re in there” parts that should be replaced at the same time). A project starting with a $5,000 car can easily require a $40,000+ total investment, with parts overruns being a primary driver.
Adopting this disciplined approach to budgeting transforms it from a hopeful guess into a strategic plan. It forces you to be brutally honest about the real costs involved and helps you prioritize where to spend your money, preventing the project from stalling due to a completely drained bank account halfway through.
Optimizing reliability for modern driving
A beautifully restored Mustang that constantly leaves you stranded is not a dream—it’s a very pretty lawn ornament. The ultimate goal for most hobbyists is a classic car they can actually drive and enjoy. This is where you invest the money saved by making smart choices on body style and paint. Prioritizing reliability doesn’t necessarily mean a full, expensive “restomod” with a modern Coyote V8. It’s about a sympathetic modernization approach: upgrading key systems for safety and dependability while retaining the car’s classic character.
A structured approach to these upgrades can be thought of as a “Reliability Pyramid.” You must build a solid foundation of safety before moving on to convenience and performance. Start with the systems that keep you on the road and out of harm’s way.
- Base Level (Safety First): This is non-negotiable. It involves a complete overhaul of the brake system (lines, hoses, master cylinder, wheel cylinders/calipers), brand new tires, and rebuilding all critical steering components (tie rods, ball joints).
- Middle Level (Anti-Stranding): These upgrades prevent roadside breakdowns. A modern, high-efficiency aluminum radiator and an electric cooling fan are crucial for handling modern traffic. A high-output alternator can power brighter headlights and future accessories, while an electric fuel pump provides more consistent fuel delivery than the original mechanical pump.
- Upper Level (Comfort & Drivability): Once the car is safe and reliable, you can focus on making it more enjoyable. An electronic ignition conversion (like Pertronix) eliminates unreliable points and condensers. An overdrive transmission (like a T-5 swap) dramatically lowers highway RPMs, improving fuel economy and reducing engine wear. Finally, a modern, efficient vintage air conditioning system can make summer cruising a pleasure.
Case Study: The Value of Sympathetic Modernization
Many beginners believe modern reliability requires expensive electronic fuel injection (EFI) conversions. However, one restoration shop’s analysis highlights a more budget-friendly path. They report that rebuilding an original carburetor and distributor with high-quality, modern components can cost 75% less than a full EFI swap. This approach not only maintains the car’s authentic feel and sound but also keeps it simple and DIY-friendly for future maintenance, avoiding the complex wiring and sensor troubleshooting that can plague modern engine swaps.
By focusing your budget on this pyramid of upgrades, you transform your project from a fragile classic into a robust and enjoyable driver, which is the ultimate return on your investment.
Planning the restoration stages
A car restoration is not a weekend project; it’s a marathon. Without a clear plan, it’s easy to become overwhelmed, lose motivation, and end up with a garage full of parts and a shell of a car. The key is to break the monumental task into a logical sequence of manageable stages. This approach prevents you from doing work that will need to be undone later—for example, installing a new interior before the bodywork and paint are finished is a recipe for disaster.
The generally accepted order of operations is designed to be efficient and protect finished work. It typically flows as follows:
- Assessment and Disassembly: The project begins with a complete teardown. Bag and tag every single component with labels and photos. This is when you’ll uncover all the hidden issues and create your master parts list.
- Chassis and Bodywork: This is the foundation. All rust repair, structural welding, and metalwork happen now, with the car stripped to a bare shell. Panel alignment is perfected at this stage, followed by primer.
- Paint: Once the metalwork is flawless, the car goes for paint. This is a major milestone, but it’s crucial to let the paint fully cure before reassembly begins.
- Sub-Assembly Rebuilding: While the bodywork is happening, you can be rebuilding sub-systems off the car: the engine, transmission, rear axle, and front suspension.
- Reassembly and Systems Installation: This is the exciting part. The rebuilt suspension and drivetrain are installed, followed by the brake and fuel lines, and the electrical wiring harness.
- Interior and Trim: The interior—headliner, dashboard, carpets, seats—goes in last to protect it from grease and scratches. Finally, the exterior chrome trim, glass, and lights are installed.
Understanding the sheer time commitment is also critical for planning. This is not a quick hobby. Professional analysis shows that a complete restoration typically requires 800 to 1,000 labor hours for a relatively solid car, and this can easily climb to 2,000-3,000 hours for a full frame-off project. By having a clear, staged plan, you can maintain forward momentum, celebrate small victories along the way, and see a clear path to the finish line.
Optimizing the bodywork budget
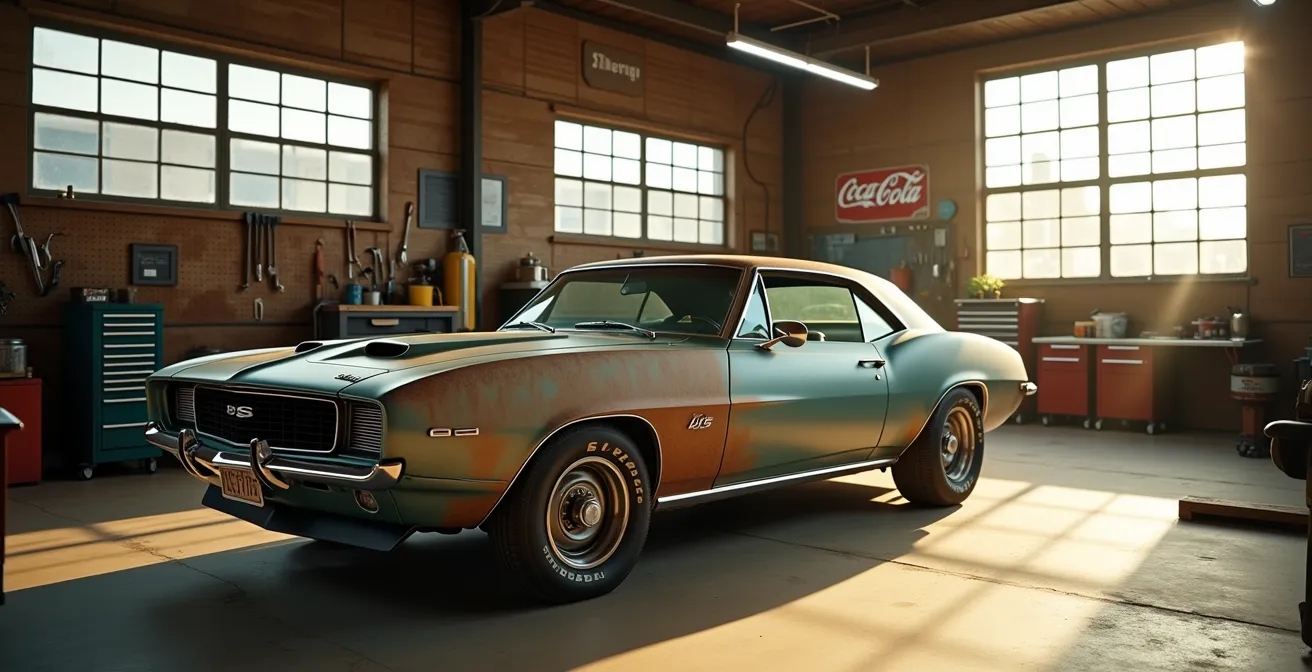
Paint and bodywork represent one of the largest single expenses in a restoration, often running from $10,000 to $20,000+ for a show-quality finish. For a budget-conscious hobbyist, this can be a project-ending figure. However, a major strategic opportunity lies in shifting your perspective on what constitutes a “finished” car. The growing popularity of the “survivor aesthetic”—embracing a car’s history, including its faded paint and minor imperfections—offers a financially savvy and increasingly respected alternative.
This approach prioritizes mechanical perfection and reliability over cosmetic flawlessness. It allows you to get the car safe, reliable, and on the road, enjoying it for years while you save for a future paint job—if you ever decide you still want one. Many owners find they prefer the worry-free nature of a car with patina, as they can drive it without the constant fear of rock chips or parking lot dings.
Case Study: The Economics of the Survivor Aesthetic
The financial benefits of embracing patina are enormous. One documented project showed an owner creating a mechanically perfect, reliable driver for a total investment of $40,000. A comparable car, taken to a full, show-quality paint finish, would have cost closer to $120,000. By deferring the $20,000+ paint job, the owner was able to build and enjoy their dream car on a realistic budget, without sacrificing anything in terms of safety or performance.
For those who do want fresh paint, another key strategy is a hybrid DIY approach. While final panel alignment and paint spraying are best left to professionals, a significant portion of the labor-intensive prep work can be done at home to save thousands. A practical breakdown from an analysis of DIY savings shows where a hobbyist can contribute.
| Task | DIY Feasible | Must Outsource | Cost Savings |
|---|---|---|---|
| Paint Stripping | Yes – Chemical/sanding | – | $2,000-3,000 |
| Small Dent Filling | Yes – Body filler work | – | $1,500-2,000 |
| Primer Application | Yes – Spray primer | – | $1,000-1,500 |
| Structural Welding | – | Professional only | Safety critical |
| Panel Alignment | – | Professional only | Requires expertise |
| Final Paint Spray | – | Professional only | Equipment needed |
By strategically choosing your battles—embracing patina or tackling the laborious prep work yourself—you can drastically reduce the cost of bodywork, freeing up funds for the mechanical systems that make the car a joy to drive.
Adapting historical design to aerodynamic constraints
The designers of the 1960s were focused on style, not aerodynamic efficiency. The classic Mustang, with its upright grille and sharp edges, essentially plows through the air. This isn’t just an issue for fuel economy; poor aerodynamics can lead to real-world problems like front-end lift at highway speeds and, most critically, inefficient cooling. At speed, high-pressure air builds up under the hood and can’t escape, preventing cool air from being drawn through the radiator. Fortunately, you don’t need a wind tunnel or expensive custom bodywork to make significant improvements.
A series of small, low-cost, and often invisible modifications can dramatically improve both stability and cooling reliability. The focus is on managing airflow, not just reducing drag. By encouraging air to go where it’s needed (through the radiator) and preventing it from getting trapped where it’s not (under the car and in the engine bay), you solve multiple problems at once.
Here are some budget-friendly aerodynamic improvements that offer the biggest bang for your buck:
- Install a front air dam (spoiler): A discreet front spoiler, often available for under $200, reduces the amount of air going under the car, which decreases lift and improves high-speed stability.
- Seal the radiator support: Use foam or rubber seals to close the gaps between the radiator and its core support. This forces all incoming air to go *through* the radiator fins instead of around them. This is a nearly free mod with a huge cooling benefit.
- Add a proper fan shroud: This is arguably the single most important cooling system upgrade. A shroud ensures the fan pulls air through the entire surface of the radiator, especially at low speeds and in traffic.
- Adjust suspension rake: Setting the car up with the rear slightly higher than the front (a mild “rake”) can help reduce front-end lift and improve stability.
As one expert notes, the most effective “aero” mods are often the ones you can’t see.
The biggest aerodynamic challenge for most classics is managing under-hood air pressure. A proper fan shroud and sealed radiator core support are incredibly effective, low-cost ‘aero’ mods that also drastically improve cooling reliability.
– Classic Car Restoration Expert, Professional Restoration Cost Analysis
By focusing on these practical, function-over-form improvements, you can solve some of the inherent design limitations of a classic car, making it safer and more reliable to drive in modern conditions without compromising its historic look.
Key Takeaways
- A successful budget restoration prioritizes a rust-free structure over perfect paint; the “survivor aesthetic” can save over $10,000.
- The Ford Mustang coupe is a smarter financial choice for a first project, offering significant savings on both purchase price and parts.
- Always use the “150% Rule” for parts budgeting to account for hidden costs, and focus spending on a pyramid of reliability upgrades (Brakes > Cooling > Comfort).
Choosing the right modern American performance car for daily driving
While some enthusiasts might choose a brand new Mustang or Camaro for a hassle-free daily driver, the ultimate dream for many restorers is to use their classic project for more than just weekend shows. But is turning a 50-year-old car into reliable daily transportation a realistic goal? The answer is a qualified “yes,” but it depends heavily on another set of strategic choices and realistic expectations. It requires a commitment to the reliability upgrades discussed earlier and an honest assessment of your driving habits and environment.
A classic car will never have the passive safety features, fuel economy, or all-weather capability of a modern vehicle. Daily driving a classic means being more engaged as a driver, anticipating traffic, leaving more following distance, and accepting that some things will require periodic tinkering. The feasibility of this goal can be broken down into a simple scorecard.
| Daily Use Factor | Score (1-5) | Minimum Requirement | Upgrade Cost |
|---|---|---|---|
| Commute Distance | Under 20 miles = 5 | Reliable cooling | $500-1,500 |
| Traffic Conditions | Light traffic = 5 | Cooling fan upgrade | $300-800 |
| Weather Protection | Garage parking = 5 | Working wipers/heat | $200-500 |
| Security Level | Safe area = 5 | Kill switch/tracker | $150-400 |
| Fuel Economy Impact | 15+ MPG = 3 | Tune-up/overdrive | $2,000-5,000 |
A high score suggests daily driving is a viable goal, while a low score indicates it might be better suited for frequent, enjoyable use rather than a daily grind in harsh conditions. Beyond the mechanicals, making a classic car suitable for daily use involves a critical focus on safety and security. A simple checklist can guide these final, crucial upgrades: you must be seen, you must be safe in a sudden stop, and you must be able to secure your investment.
This means prioritizing items like LED headlight and taillight conversions for vastly improved visibility, installing modern three-point seatbelts, and ensuring you have a functional defroster and two-speed wipers. A hidden kill switch or a GPS tracker provides peace of mind that your hard work won’t disappear overnight. By thoughtfully addressing these factors, you can confidently and safely enjoy the unparalleled experience of driving your classic Mustang as it was meant to be driven.
Your journey to owning and restoring a piece of American history doesn’t have to be a financial nightmare. By approaching it as a series of strategic decisions—prioritizing structure, budgeting realistically, and investing in reliability—you can build the drivable, enjoyable classic Mustang you’ve always imagined. Start your search not for a perfect car, but for the one with the right bones and the potential for a rewarding adventure.