The biggest mistake visitors make in Sedona is assuming any 4×4 can handle any dirt road, leading to costly damage and stressful situations.
- Your vehicle’s ground clearance is the single most important factor, more so than its 4×4 system.
- Standard rental company SUVs are not equipped for—and are contractually forbidden from—real Sedona trails.
Recommendation: Learn to assess the “vehicle-trail mismatch” yourself. If there’s any doubt, rent a purpose-built Jeep from a local Sedona outfitter for a safe and thrilling experience.
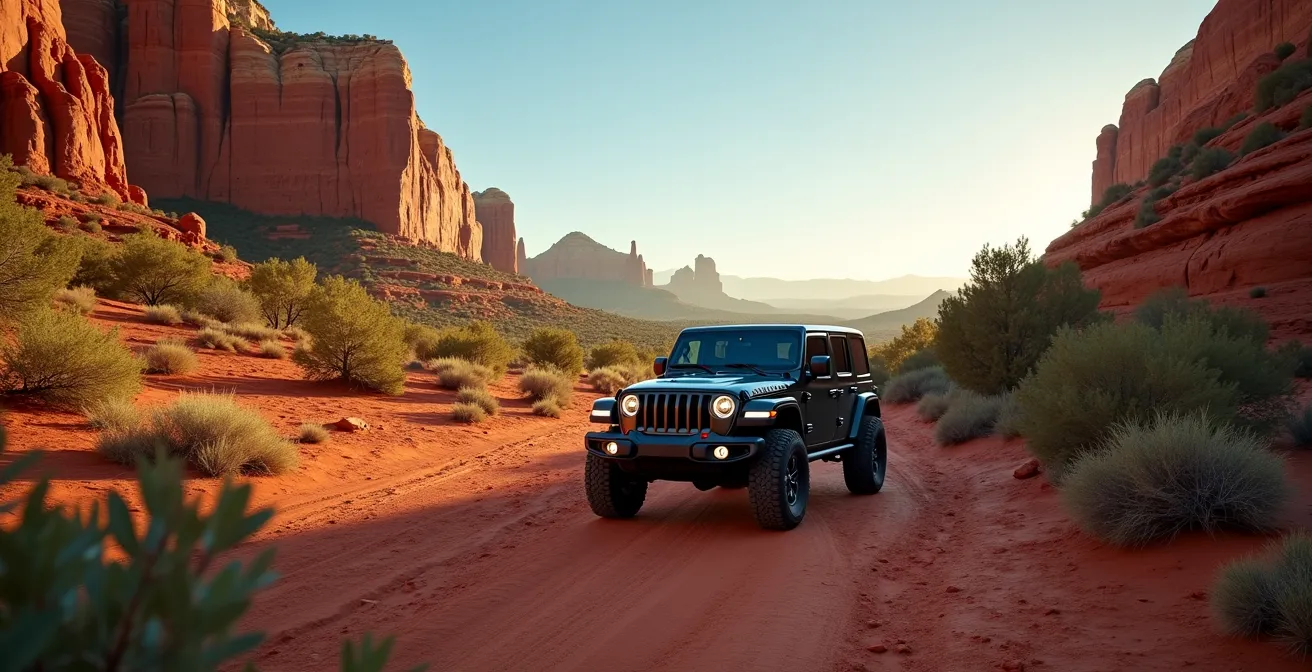
The allure of Sedona’s red rock landscape is undeniable, and the promise of exploring its backcountry on a dusty trail is a powerful draw. You’ve seen the photos: Jeeps perched on dramatic overlooks, adventurers far from the tourist crowds. You look at your rental SUV or your personal crossover and think, “It’s a 4×4, it should be fine.” This is the moment where an incredible adventure can turn into a very expensive mistake. Many guides list “easy” trails, but they often fail to explain the most critical element: the crucial relationship between the trail’s challenges and your specific vehicle’s limitations.
The truth is, not all 4x4s are created equal. The difference between a stock Ford Explorer and a purpose-built Jeep Wrangler rented from a local outfitter is night and day. This guide isn’t just another list of trails. It’s a strategic framework designed to empower you, the visitor with a stock or standard rental vehicle. Our goal is to give you the mental toolkit to assess a trail ahead of you, understand its language, and make the smart choice that guarantees an adventure filled with thrills, not repair bills. We’ll move beyond generic advice and focus on the practical mechanics of vehicle capability, from ground clearance and tire pressure to understanding the subtle but critical difference between a “rental” and a “rented” off-road vehicle.
This article will provide a comprehensive roadmap for your off-road planning. You’ll learn to evaluate your vehicle’s physical limits, compare your rental options intelligently, and prepare yourself and your vehicle for the unique demands of the desert. Let’s ensure your Sedona story is about stunning views, not a standoff with an immovable rock.
Summary: A Strategic Guide to Sedona Off-Roading
- Assess necessary ground clearance
- Compare vehicle rental options
- Prevent chassis damage
- Optimize tire pressure for traction
- Plan the schedule for photography and the crowd
- Understand the impact on manufacturer warranty
- Understand trail rating systems
- Prepare a vehicle and driver for extreme desert conditions
Assess necessary ground clearance
Before you even think about which trail to take, you must understand your vehicle’s most critical off-road statistic: ground clearance. This is the distance from the lowest point of your vehicle’s underbody (usually the differential or exhaust) to the ground. It dictates what you can drive over without hearing the gut-wrenching scrape of metal on rock. For the varied terrain of Sedona, this single measurement is more important than horsepower or even the 4×4 badge on the back.
Off-road specialists have general guidelines that are highly relevant to Sedona. Trails with minor ruts and dirt roads can be handled with 6-8 inches of clearance, typical for some stock SUVs. However, the moment you encounter moderate rock ledges or deeper erosion, you enter the realm of 8-10 inches of necessary clearance. For the more challenging, iconic trails that involve rock crawling or significant “steps,” you’re looking at a minimum of 10-12 inches. A Jeep Wrangler Rubicon, for instance, comes standard with 10.8 inches, placing it squarely in the “challenging” category.
Don’t forget the impact of your vehicle’s geometry. The approach angle (how steep an obstacle you can climb without hitting your front bumper) and departure angle (the same for the rear) are just as important. A long front overhang on a family SUV can be a deal-breaker on an incline a Jeep wouldn’t even notice. The key takeaway is to know your vehicle’s numbers before you arrive, or if renting, to ask the outfitter for the specs of the vehicle you’re considering. This knowledge is the foundation of a safe and damage-free day.
Compare vehicle rental options
Now that you understand the importance of capability, the question becomes: where do you get the right vehicle? This is where visitors must understand the critical difference between a standard airport “rental” and a purpose-built “rented” vehicle from a specialized Sedona outfitter. A 4×4 SUV from a major rental chain might seem like a bargain, but it’s a trap for Sedona’s real trails. These companies have strict policies prohibiting off-pavement use, and any damage sustained on a dirt road will void your insurance and make you fully liable.
Furthermore, a stock SUV like a Dodge Durango or Ford Explorer simply lacks the ground clearance, underbody protection, and robust suspension required for anything beyond a graded dirt road. The risk of a vehicle-trail mismatch is extremely high. The smart solution is to rent from a local Sedona business that specializes in off-road vehicles. These aren’t just cars; they are tools for adventure, properly equipped and maintained for the exact conditions you’ll face.

The following table, based on common Sedona offerings, illustrates the differences in capability. As you can see, a purpose-built vehicle like a Jeep Wrangler Rubicon is designed to handle all of Sedona’s famous trails, including the notorious “Steps” obstacle on Broken Arrow. In contrast, a stock SUV is limited to the easiest scenic drives.
| Vehicle Type | Ground Clearance | Best For | Trail Limitations | Cost Factor |
|---|---|---|---|---|
| Jeep Wrangler Rubicon | 10.8 inches | All Sedona trails including Broken Arrow | None – handles Steps obstacle | Premium pricing |
| Stock SUV (Commander/Durango) | 8-9 inches | Easy trails, scenic drives | Cannot handle Broken Arrow Steps | Standard rental rates |
| UTV/Side-by-Side | 12+ inches | Technical trails, narrow passages | Not street legal between trails | Specialized rental |
| Modified Bronco | 11.6 inches | Rock crawling, moderate-difficult trails | Wider than Jeeps on narrow sections | Mid-premium pricing |
Case Study: The Standard Rental Car Mistake
A comprehensive analysis of visitor experiences consistently reveals a pattern: tourists who attempt Sedona’s moderate trails in standard 4x4s from airport rental companies often face trouble. These vehicles are not suitable. The solution, echoed by countless experienced visitors, is to rent a purpose-built vehicle from a specialized Sedona off-road shop. These outfitters not only provide the right equipment but also include trail maps, safety briefings, and clear guidelines on what each vehicle can handle, effectively eliminating the guesswork and risk.
Prevent chassis damage
Once you’re on the trail in a capable vehicle, the goal is to keep it that way. Preventing chassis and undercarriage damage is a skill that combines careful observation with slow, deliberate driving. The number one rule is: if you can’t see what’s under your tires, get out and look. Pride has no place when you’re navigating a rock garden. The best drivers are the most cautious ones, often relying on a “spotter” to guide them through tricky sections.
A spotter is a passenger who gets out of the vehicle to act as your eyes, guiding your tire placement over or around obstacles. This teamwork is essential for any trail rated “moderate” or higher. It transforms a stressful guessing game into a precise, controlled maneuver. Even on easier trails, having a spotter can help you choose a smoother line, avoiding the sharp rocks that can damage a tire’s sidewall.
A classic piece of local advice is to watch the professionals. As one experienced driver noted, it’s a good strategy to “Follow the pink Jeeps if you can because they know the best routes.” These tour drivers navigate the trails multiple times a day and instinctively know the optimal line to take. Observing them is a masterclass in mechanical sympathy—driving in a way that minimizes stress on the vehicle. Don’t tailgate, but watch where they place their tires and how they approach obstacles. Below is a simple communication protocol to use with your spotter.
Your Action Plan: Spotter Communication for Obstacles
- Establish clear hand signals before starting: a closed fist means STOP immediately, while pointing indicates the direction to turn the front wheels.
- Position the spotter at a front corner of the vehicle, where they can see both the front tire and the obstacle simultaneously.
- Use simple, direct verbal cues: “passenger up” means the rock is on the passenger side and you need to climb it, while “driver down” warns of a drop on the driver’s side.
- Walk the entire obstacle first. The spotter’s primary job is to identify the safest line through the rocks before the vehicle even moves.
- Maintain constant visual contact between the driver and the spotter. The driver only moves on the spotter’s signal.
Optimize tire pressure for traction
One of the most effective—and often overlooked—techniques for improving off-road performance is “airing down,” or intentionally reducing your tire pressure. It might seem counterintuitive, but lowering your tire’s PSI dramatically increases its a-bility to grip uneven surfaces. A hard, fully inflated tire can be easily punctured and will bounce over obstacles. A softer tire deforms, wrapping around rocks and spreading the vehicle’s weight over a larger area. This increases the tire’s “contact patch,” the amount of rubber touching the ground.
Research confirms the dramatic effect: a test showed that dropping tire pressure from 40psi to 15psi nearly doubled the tire’s tread length on the ground, increasing the contact area from 19cm to 33cm. This allows the vehicle to “float” over soft sand and provides incredible grip on Sedona’s famous slickrock. The difference in ride comfort is also significant; an aired-down vehicle absorbs bumps smoothly instead of jarring its occupants.
However, the correct pressure is terrain-specific. You need much lower pressure for slow-speed rock crawling than for a faster-paced gravel road. It’s crucial to have a portable air compressor with you to re-inflate your tires to normal highway pressures (typically 35-40 PSI) before driving back on pavement. Driving at high speed with low tire pressure is extremely dangerous and can cause a catastrophic tire failure.
This table provides a general guide for the types of terrain you’ll encounter in Sedona. Always consult with your local rental outfitter for their specific recommendations for the vehicle and tires you are using.
| Terrain Type | Standard Tire PSI | Benefit |
|---|---|---|
| Sedona Slickrock | 10-15 PSI | Maximum grip on steep angles |
| Loose dirt/gravel (Schnebly Hill) | 18-25 PSI | Prevents washboarding vibration and improves comfort |
| Rocky sections (Broken Arrow) | 10-15 PSI | Tire wraps around obstacles for traction and durability |
| Mixed terrain | 15-20 PSI | Balanced performance for varied trails |
Plan the schedule for photography and the crowd
Choosing the right vehicle and trail is only half the battle; choosing the right time to go is the other half. Sedona’s popular trails can get congested, especially during peak season and weekends. An early start is almost always the best strategy. You’ll enjoy cooler temperatures, fewer encounters with other vehicles, and the “golden hour” light that makes the red rocks glow. This is especially true for popular areas like the Forest Road 525 trail system, where an early morning drive can reward you with 365-degree views in peaceful solitude.
Strategic timing can also help you avoid the constant flow of commercial tour groups. While it’s wise to let the Pink Jeep tours pass (they are on a strict schedule), you can plan your route to miss the bulk of their traffic. For example, drive the Outlaw Trail early in the morning or late in the afternoon. For Schnebly Hill Road, aim for mid-morning, after the first wave of tours has already reached the vista and turned around. The best time for photography is generally mid-morning, between 9 and 11 am. This provides bright, even lighting on the rock faces without the harsh overhead shadows of midday or the tricky, fast-changing light near sunset.
Your timing can even be dictated by the direction of the sun. For a trail like Diamondback Gulch, it’s best to enter from the south in the morning to keep the sun at your back. In the afternoon, when the sun is in the west, starting from the northern entrance will prevent you from driving directly into blinding glare. Finally, renting a capable vehicle offers a unique advantage for accessing popular hiking trailheads. For instance, a rented Jeep allows you to drive the rough Dry Creek Road all the way to the Devils Bridge trailhead, bypassing the perpetually full main parking lot and saving you a long, dusty walk.
Understand the impact on manufacturer warranty
For those considering taking their own vehicle on Sedona’s trails, the fear of voiding the manufacturer’s warranty is a major concern. There is a common misconception that any off-road use automatically invalidates your entire warranty. This is generally not true, thanks to consumer protection laws like the Magnuson-Moss Warranty Act. The key principle is that a manufacturer cannot deny a warranty claim unless they can definitively prove that the off-road activity caused the specific part to fail.
As one legal interpretation based on Federal Trade Commission guidelines states, “A manufacturer cannot void a warranty for off-road use unless they can prove the activity caused the specific failure.” For example, if you damage your suspension on a rock, the manufacturer can deny the claim for the suspension repair. However, they cannot then refuse to fix an unrelated engine problem that arises later. The burden of proof is on them.
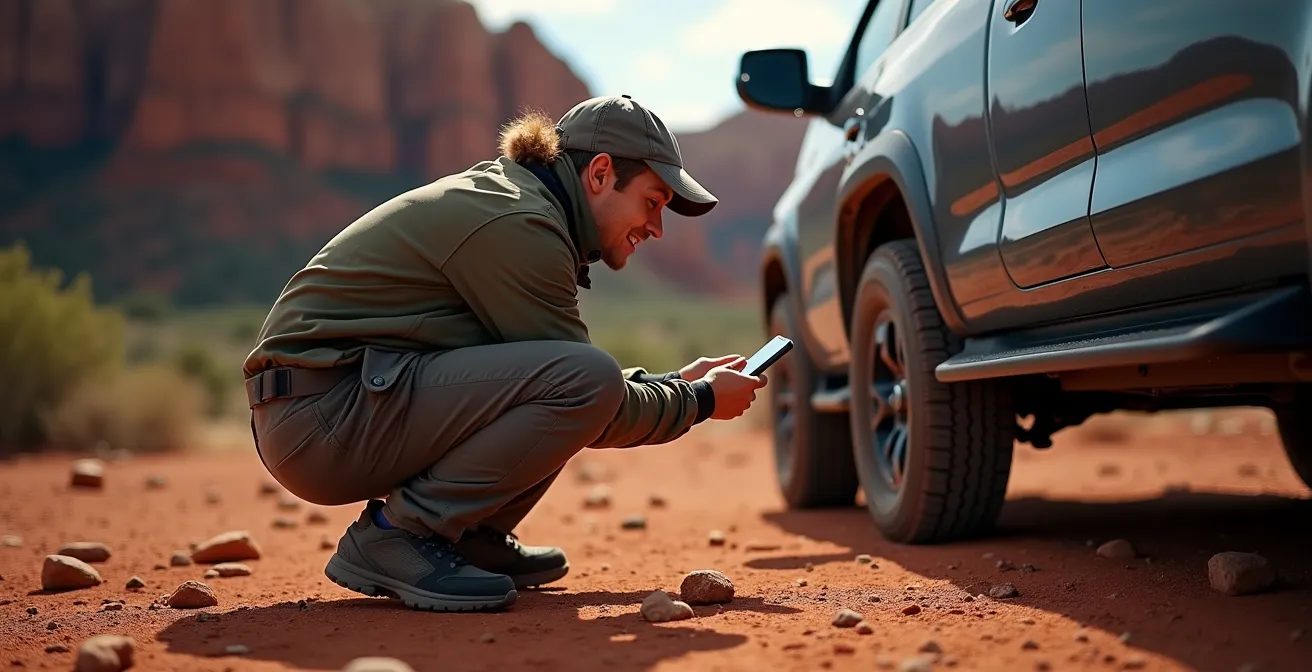
To protect yourself, documentation is your best friend. Before you hit the trail, conduct a thorough walk-around of your vehicle. Take photos and videos of the body panels, wheels, and especially the undercarriage to document its pre-trail condition. Keep all your maintenance records to show the vehicle has been serviced properly. If you do incur damage, photograph it immediately, including the obstacle that caused it if possible. This evidence can be invaluable if you need to file a claim for an unrelated issue down the line. While a purpose-built vehicle from a Sedona outfitter is always the safest bet, understanding your rights can provide peace of mind if you choose to use your own capable vehicle responsibly on an appropriate trail.
Understand trail rating systems
Trail signs in off-road areas are not suggestions; they are a technical language describing the challenges ahead. Understanding this system is fundamental to avoiding a vehicle-trail mismatch. Most off-road parks and regions, including Sedona, use a numerical rating system, typically from 1 (easiest) to 10 (most extreme). For the average visitor in a stock SUV or rental Jeep, you’ll be operating almost exclusively in the 1-6 range, and only venturing into the 7-9 range with a highly capable, purpose-built vehicle like a Jeep Wrangler Rubicon.
An easy trail (rated 1-3) is typically an unpaved road that might have some moderate grades or small ruts. A standard SUV with all-wheel drive can usually handle these. A moderate trail (4-6), like Schnebly Hill Road, introduces steeper climbs, some rocky sections, and potentially narrow ledges. This is where true 4WD with a low-range gear and at least 9 inches of ground clearance becomes a requirement. A difficult trail (7-9), like Broken Arrow, involves large, unavoidable obstacles, extreme angles, and requires advanced equipment like locking differentials and over 10 inches of clearance. It’s not a place for novice drivers or stock vehicles.
Crucially, all trail ratings assume dry conditions. A little bit of rain can dramatically change a trail’s character. Sedona’s dirt can turn into slick, greasy mud, and a moderate trail can instantly become a difficult one. As one report notes, after rainfall, water crossings can appear and the route can become very challenging to navigate. Monsoon rains can easily increase a trail’s difficulty by 2-3 points on the scale. Always check the weather forecast and be prepared to change your plans if rain is expected.
| Trail Rating | Difficulty Description | Minimum Vehicle Requirements | Sedona Example |
|---|---|---|---|
| 1-3 (Easy) | Unpaved roads, moderate grades | Stock SUV, AWD helpful | Forest Road 525 branches |
| 4-6 (Moderate) | Steep climbs, narrow ledges, rocks | 4WD Low, 9+ inch clearance | Schnebly Hill Road |
| 7-9 (Difficult) | Large obstacles, extreme angles | Locking differentials, 10+ inch clearance | Broken Arrow ‘Steps’ |
| 10 (Extreme) | Professional level challenges | Modified vehicle, winch, spotter required | Cliffhanger Trail |
Key takeaways
- Ground clearance is the most critical metric for trail selection; know your vehicle’s limits before you go.
- Standard rental SUVs from major chains are forbidden and unsuitable for real Sedona trails; rent from a local specialist.
- Airing down your tires is the single most effective way to improve traction and comfort, but you must have a compressor to air back up.
Prepare a vehicle and driver for extreme desert conditions
Your preparation isn’t complete once you’ve chosen the right vehicle and trail. The Arizona desert is a beautiful but unforgiving environment. Being prepared for the unexpected is what separates a minor inconvenience from a serious emergency. Cell service is nonexistent in most of Sedona’s canyons and remote areas. You cannot rely on your phone to call for help. At a minimum, carry a GMRS radio, and for true peace of mind, a satellite messenger like a Garmin inReach is a worthy investment.
The most critical resource is water. The desert sun and dry air can lead to dehydration with shocking speed. The rule of thumb is to carry a minimum of two gallons of water per person—more than you could ever imagine needing. Your vehicle’s toolkit should also be tailored to the environment. A quality tire plug kit is essential, as the sharp rocks are notorious for causing sidewall tears. A portable air compressor with a 150 PSI capacity is mandatory for re-inflating your tires after airing down for the trail.
Renting a Jeep was the best decision we made during our 8-day visit to Sedona… We personally drove each of the 9 Sedona Jeep trails you’ll find in this guide and we had a blast. We also benefited from some unexpected advantages like accessing popular hiking trailheads via Jeep-only trails. The key lesson: proper preparation including recovery gear and extra water transformed potential disasters into minor inconveniences.
– Satisfied Visitor, wherearethosemorgans.com
Finally, prepare the driver. Be rested, hydrated, and have a clear plan. Let someone know your intended route and your expected return time. Driving off-road requires sustained concentration. By respecting the environment, carrying the right gear, and preparing yourself mentally, you ensure that your adventure remains a positive and memorable part of your Sedona visit.
Now that you have the framework to choose the right trail and vehicle, the adventure is yours to claim. By prioritizing preparation and making an honest assessment of your equipment, you can confidently explore the stunning backcountry of Sedona and create memories that will last a lifetime.
Frequently Asked Questions on Sedona Off-Roading
How do I avoid Pink Jeep tour traffic?
The best strategy is to always pull over and let the commercial tour groups pass, as they are on a tight schedule. To avoid them altogether, drive popular trails like Outlaw very early in the morning or late in the afternoon when their tours are less frequent.
What’s the best time for photography without harsh shadows?
Mid-morning, generally between 9 AM and 11 AM, offers the best lighting conditions. This window provides bright, even light on the red rock formations while avoiding the harsh, top-down shadows of noon and the difficult, rapidly changing light of the golden hour.
How can I park at popular trailheads like Devils Bridge?
This is a major advantage of renting a capable off-road vehicle. With a high-clearance Jeep, you can navigate the rough Dry Creek Road past the main, often-full parking lot and park directly at the Devils Bridge trailhead, saving you a significant walk.